5 Tips for Rebuilding a CRD Pilot
The iconic Cla-Val CRD is one of the most common pilots you will find atop a control valve. CRDs have piloted pressure reducing valves since the 1950s – tirelessly protecting our systems from over-pressurization. Which means it’s just as important to rebuild your CRD as it is to service the rest of your valve! Over the last four decades, our service team has rebuilt thousands upon thousands of CRDs. Here are our top five tips to remember for a successful rebuild:
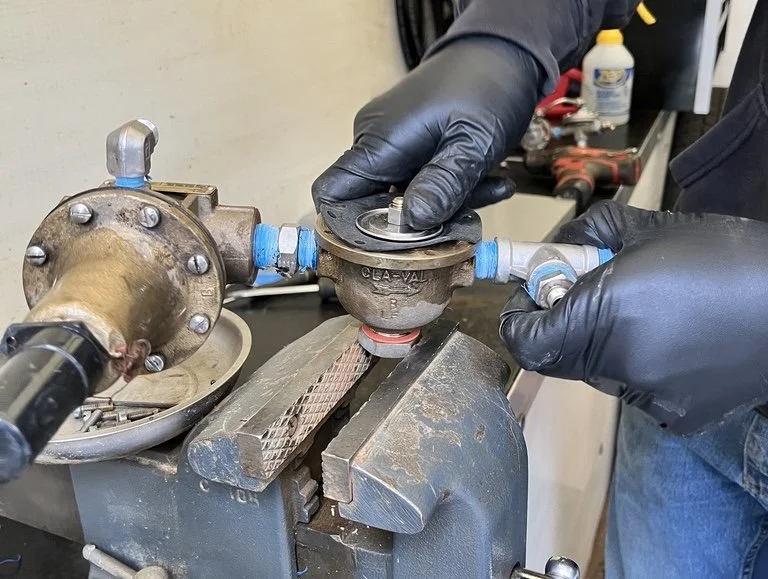
Tip #1: Secure the CRD in a vice.
Having the CRD safely mounted in a vice makes removing and installing the cover screws a breeze. Not only does it free up your other hand, it also keeps it out of harm’s way. If you’ve ever stabbed yourself with a screwdriver, you know what I’m talking about!
Tip #2: Line up the yoke.
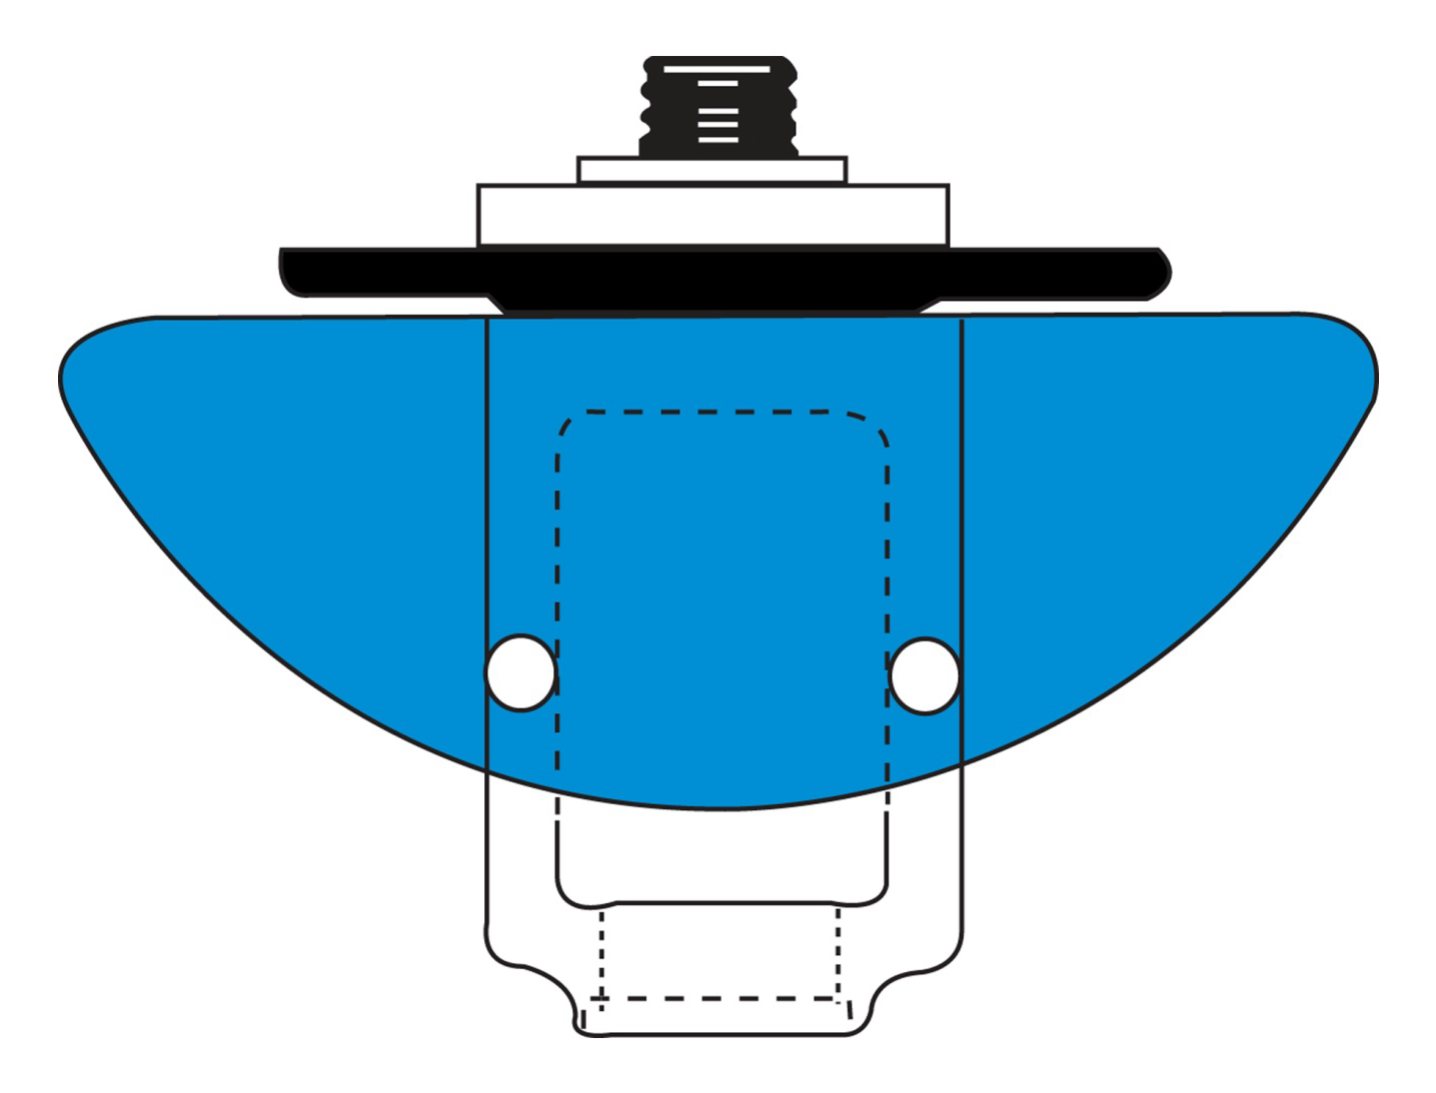
The yoke of your CRD wraps around the nozzle inside the body and travels up and down to open and close the pilot. A misaligned yoke will cause wear and drag on the nozzle and disc guide, which could cause your valve to behave erratically or stick completely.
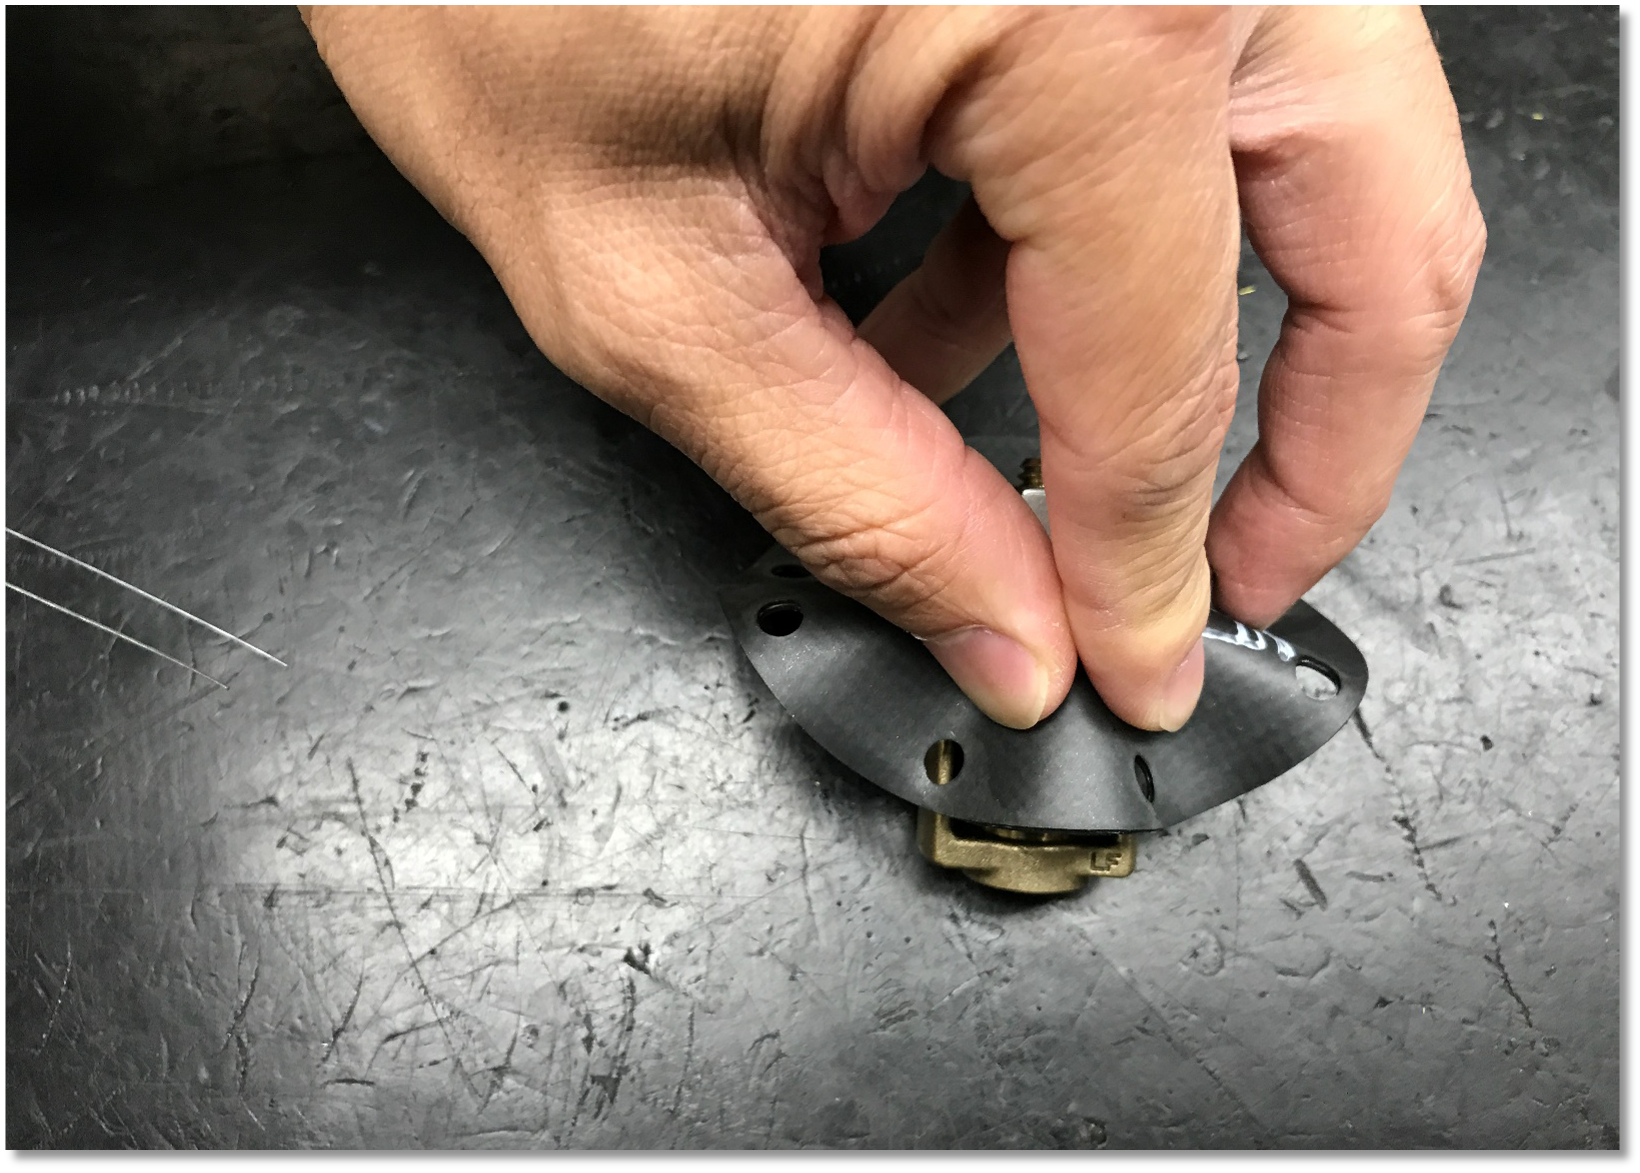
Make sure the yoke arms are lined up between the screw holes of the CRD diaphragm, This gets a little tricky when tightening, since the diaphragm tends to spin with the jam nut. Remember to check alignment both before and after tightening the yoke assembly.
How to check yoke alignment: Fold over the diaphragm. If two screw holes line up with the yoke arms (pictured) the yoke is aligned. If they don’t, readjust.
Tip #3: Springs – When in doubt, throw it out.
Don’t let a broken spring break your system! Always inspect the spring for signs of wear. Some slight surface rust that’s easy to brush off is fine, but any rust or erosion anywhere on the spring means the metal has been compromised. That little spring controls the set point for the whole valve, so if in doubt, throw it out and replace it with a new spring.
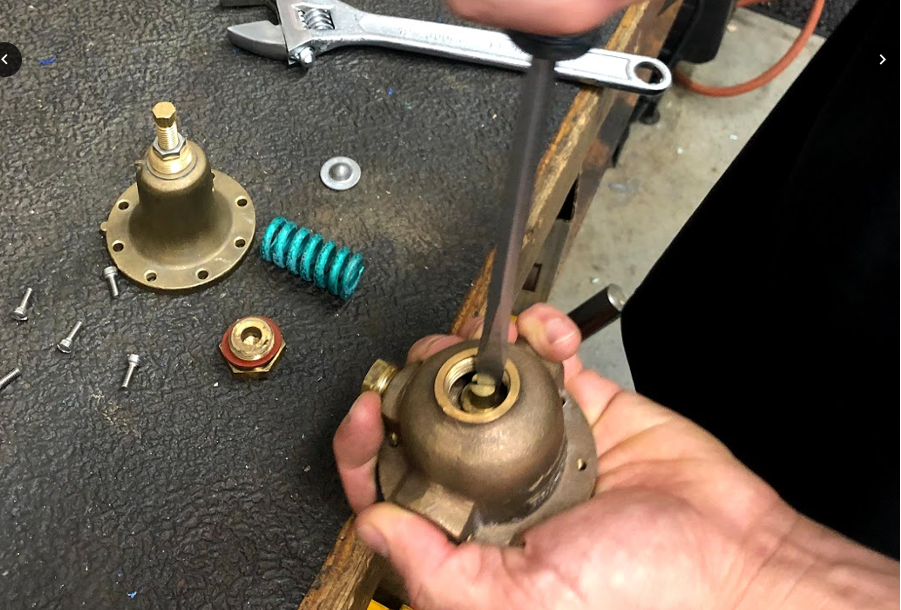
Tip #4: Don’t cross thread your disc retainer.
Inadvertently cross threading your yoke and disc retainer could turn a routine rebuild into an emergency (ask me how I know 😭). Cross threading those two pieces will likely ruin both, and while your repair kit includes a disc retainer assembly, most people don’t have a yoke replacement on hand. Until you’ve properly reassembled your CRD, your valve won’t operate… so take care when lining up those threads!
Remember: If you ever do make this mistake - we have replacement yokes in our warehouse and on our service trucks. Give us a call!
Tip #5: Pay attention to the Belleville washer!
The Belleville washer is a tension washer inside the CRD pilot that provides load and tension on the jam nut to keep it from loosening. It also helps the spring provide even pressure on the diaphragm washer. Be sure to install the Belleville washer with the “dome” upwards. If you accidentally put it in backwards, or dome down, it won’t create the tension necessary to secure the jam nut – ultimately causing the CRD to leak or stop functioning completely.
IF you need more help…
Following these 5 tips should help you avoid the most common mistakes and get you on your way to a successful rebuild. But there’s a lot more to know! If you’re getting ready to take apart a CRD for the first time, make sure you check out Cla-Val’s video of a full CRD break down. If you have any questions or need help servicing your CRDs or other Cla-Val valves and pilots, reach out now!
Robert Velasquez currently works in Engineering Support and Technical Sales - specializing in Cla-Val design, quoting and specifications. Nothing captures his imagination quite like water system and valve design. When he’s not finding solutions to complex application challenges, he enjoys training operators and getting back out in the field with the service team.


